
User Guide – Well Data Submission
Data Submission
The data submission page is used to submit data to the NDR via the self-service upload facility. To submit data on physical media (tape & disk), please use the ‘physical media submission ticket’ tab on the Data Submission page to initiate the process with NDR Support.
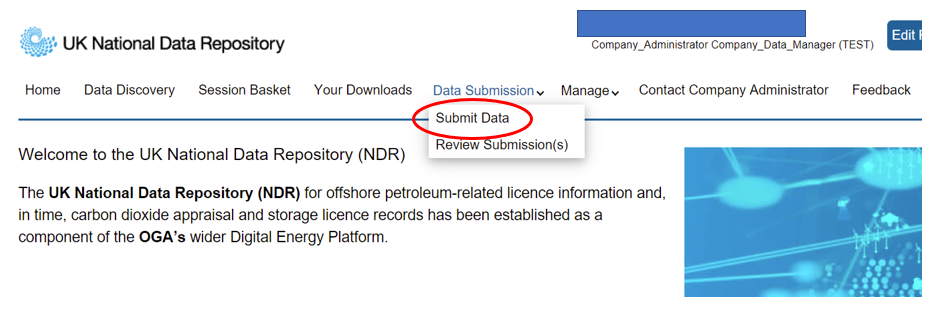
Only Company Data Managers can submit data via the NDR portal. A Company Administrator does not have submission privileges unless they also grant themselves Company Data Manager role in the absence of a separate Data Manager.
Find Project ID
All data needs to be submitted to a unique Project ID, which is used to group and assign a spatial location to related data. The Project ID is a fixed length and is made up of four parts following the pattern CCCCYYYYtypeNNNN.
Each project also has a current owner assigned to it. The Project ID can be determined by searching within the ‘Lookup Project ID by type’ table for projects associated with your company.
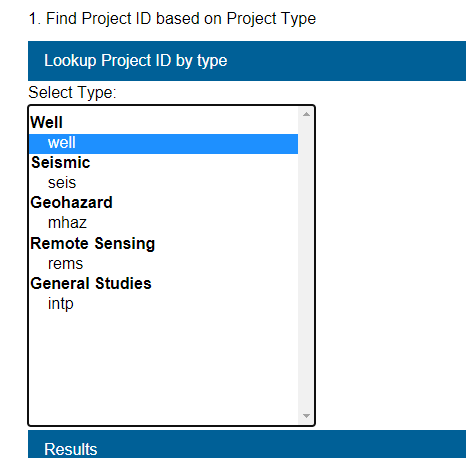
Within the ‘Lookup Project ID based on Project Type’ window, you have the option to select on one of five different project types.
|
Project Code |
Description |
|
well |
Wellbore projects |
|
seis |
Seismic projects |
|
mhaz |
Near surface high resolution site survey projects |
|
rems |
Remote sensing, potential, and diffusive field projects |
|
intp |
General studies projects |
When the project type has been selected, ‘seis’ in the example above, the results are presented in a Project ID table.
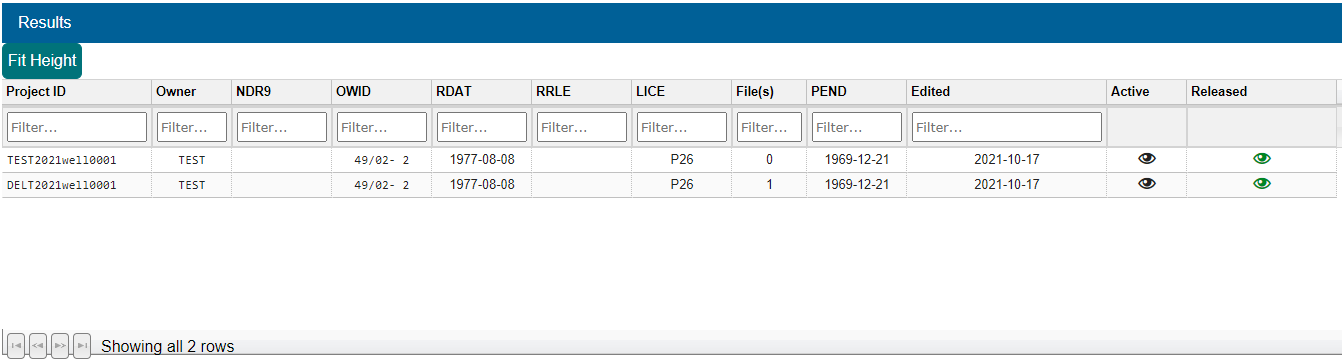
This table lists all the ‘well’ related projects associated with your company.
If the correct Project ID does not exist, then you have the option to create a new one.
A Project ID will not automatically be made for new wells. For new wells a Company Data Manager will have to create a Project ID.
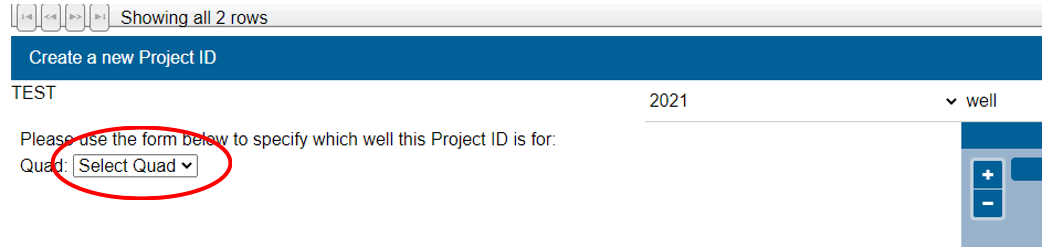
In the ‘Create a new Project ID’ you are requested to select the year and project type, with the project number NNNN being automatically assigned by the system. The 4 character numeric YYYY is the year in which the project was performed (if between years, choose earliest), this is not the acquisition year of the input datasets.

When a new Project ID is specified, you will be asked to provide Project ID Quad location.
After selecting the Quad you will be asked to select the Block, then click "find wells".
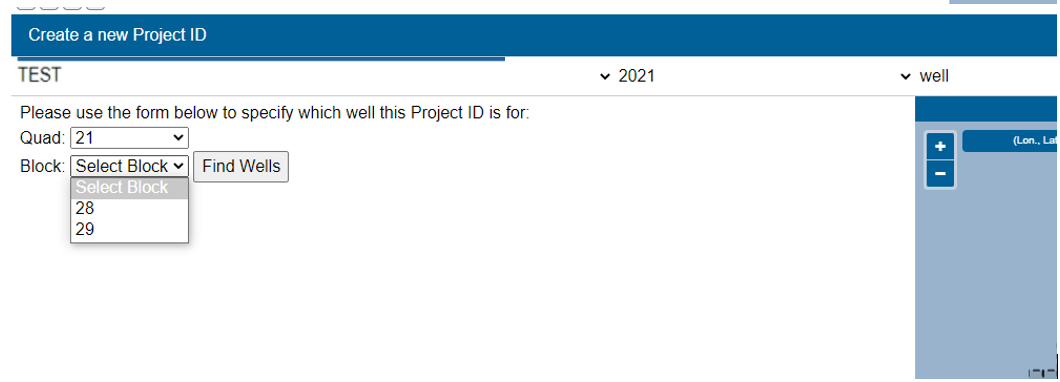
The available wells in the block will be displayed.
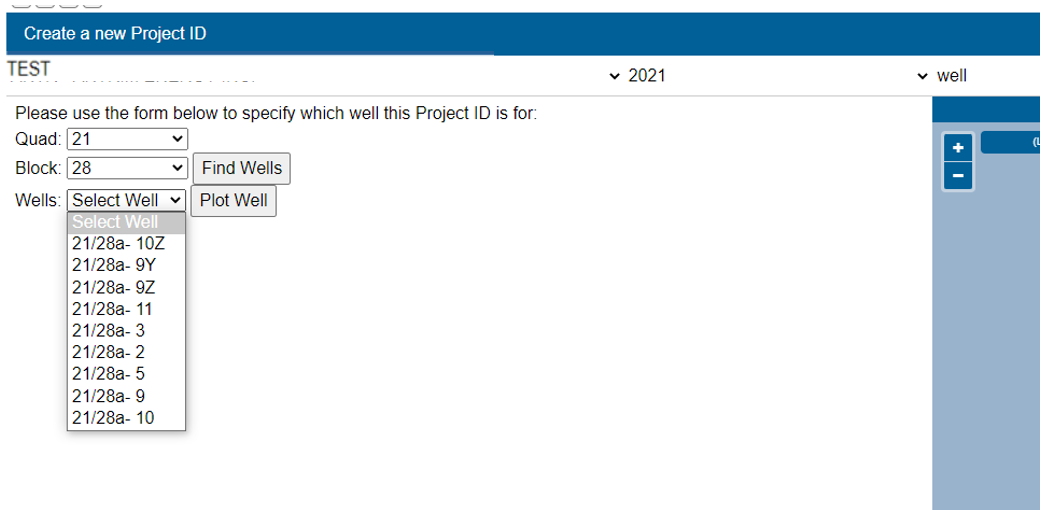
After selecting the well you can plot it to check that the well is where you are expecting it on the map:
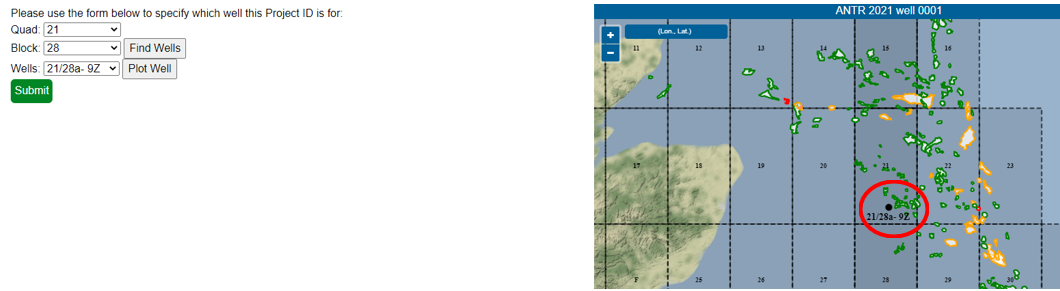
The final step is to submit the new ProjectID
Upload Data
Once a Project ID has been selected, or created, data can then be uploaded to it. A Project ID is selected by clicking on the appropriate row in the results table. When a selection is made, the row turns green to highlight the choice made.

You are now invited to upload your data. To help ensure that the intended data is selected, you are required to create a file in the selected folder that has a filename of the project ID, in this case ‘TEST202well0001.txt’. This can easily be done by clicking on the ‘Download File’ tab, or alternatively, you can name the folder that you select to match the Project ID, TEST202well0001.
When selecting your folder that contains your files, it will not show the files in the folder.
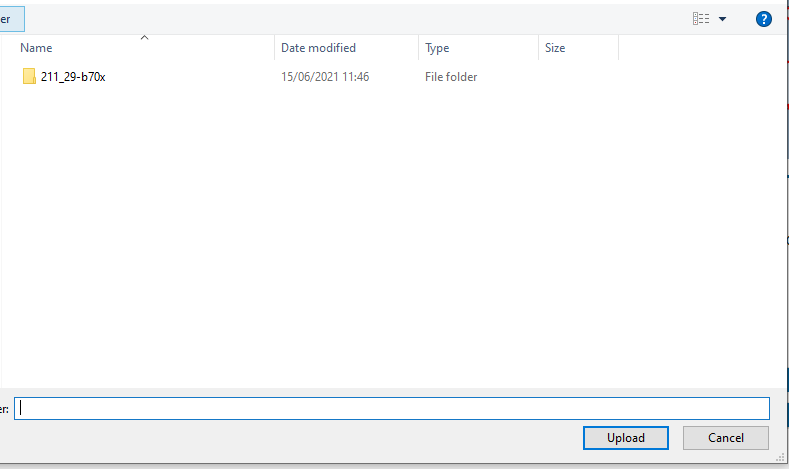
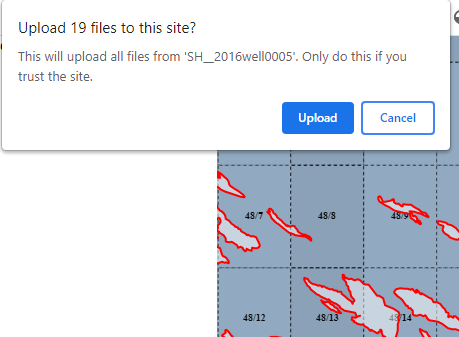
You will be prompted to confirm the upload. Please note this is not the final upload to the NDR, you will still get a chance to choose files in the next step.
Confirm your selection by pressing the upload button. This action populates the upload table, advises you on the Type, Data and Name compliance of your selected files, and prompts you to set CTAGS (data classification tags).
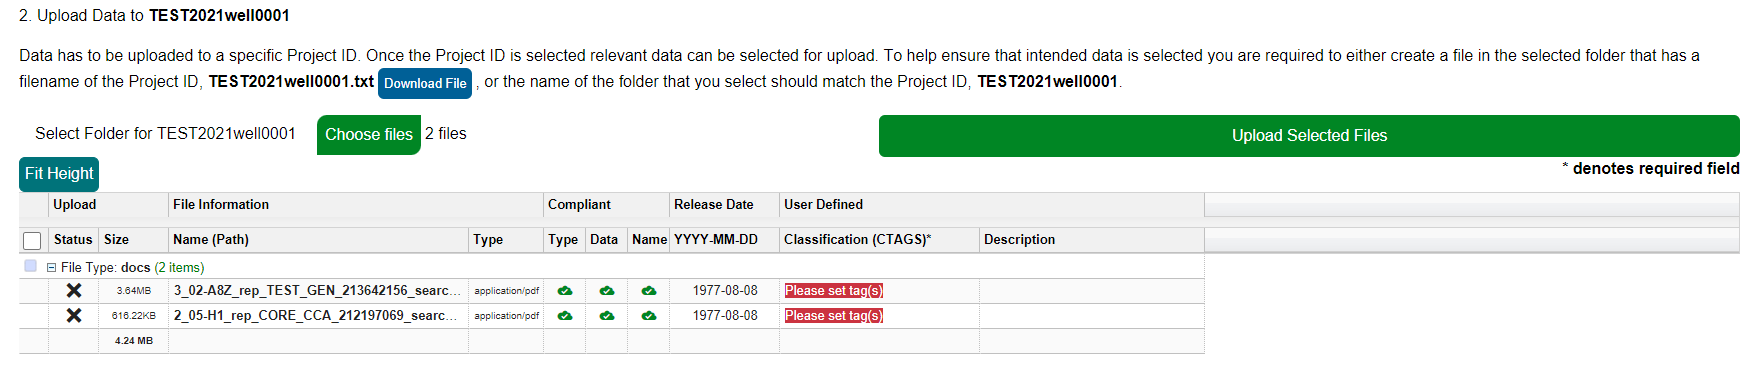
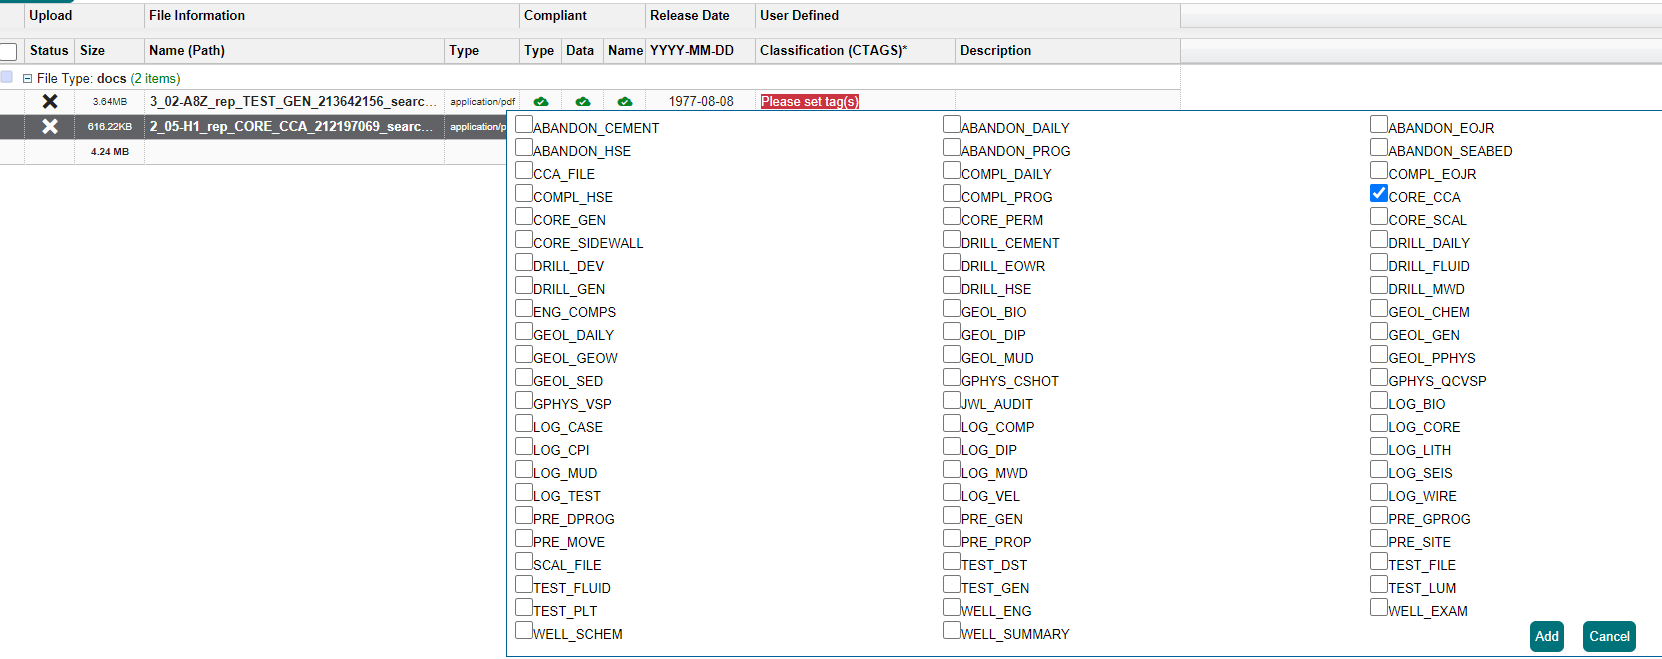
File compliance will be indicated with a green cloud symbol with a tick inside, or a red cross if non-compliant. CTAGS can be set by selecting the appropriate tag from a pop-up window. The system is designed to recognise the file type and prompt with relevant tags for that file type.
In this example, the core CCA file is compliant and the CTAG has been set as Test GEN is also compliant with the submission requirements but is prompting you to set the tags.

If a file fails the check on the data compliance. By selecting the row for this file, additional information is reported on the reason for non-compliance.
Non-compliant files cannot be uploaded.
The upload of these files is started by clicking the ‘Upload Selected Files’ tab.
Please do not close the browser or navigate away from this page during the upload process.
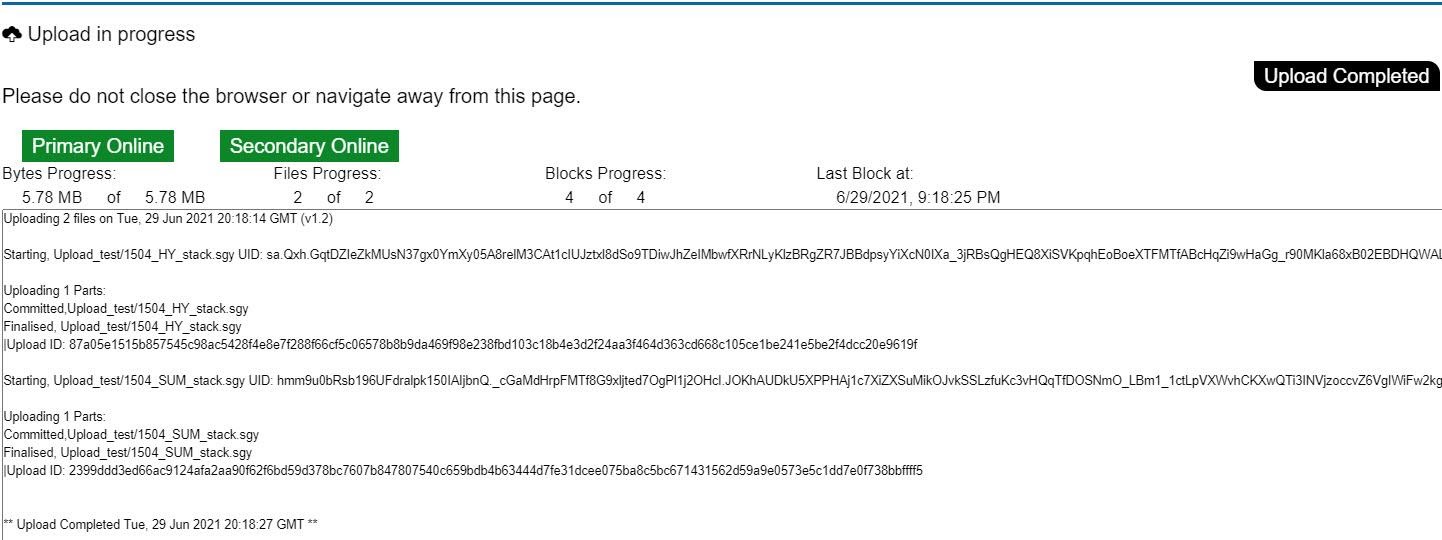
Upload progress is reported during the process, and a completion report issued when the job has finished. This report is downloaded in txt format to your downloads folder on completion.
Comments
0 comments
Please sign in to leave a comment.